I did some rough tests and really pushed the 3018 Desktop CNC machine settings to the limits of quality machining. I worked with foam board to diagnose issues, which included inverting the y-axis in Grbl Control Settings. I then tried machining some designs in 1/4 walnut. My feed rate was too high, spindle speed too low, and I was asking it to hog out too much material with its depth of cut and speed combination.
I also learned that the pre-assembled z-axis assembly, didn’t have a tight enough motor shaft to lead screw connection, when it failed to lift the spindle before a move, and sheered a 1.2mm end mill. That’s why you buy in bulk, right?
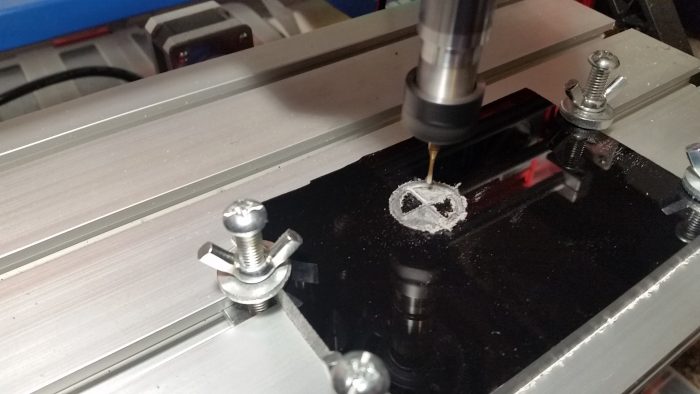
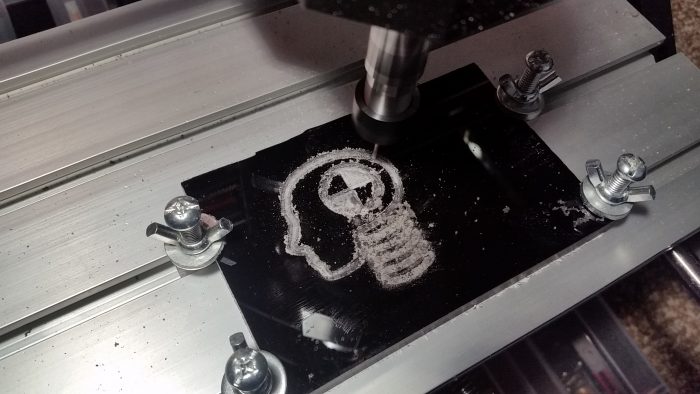
For the sake dialing in reasonable expectations, I decided to do some test cuts in acrylic. The black acrylic I had on hand, unfortunately can’t be back lit with LEDs, because it is opaque not transparent, and doesn’t transmit light at all. The quality of cut is still easily observed.
I chose to use a ‘Crash Test Dummy’ head graphic, as it seemed appropriate for a machine, that ‘crashes’ when it fails badly. Fortunately, we never crashed, the machining came out good not great, and I have a better idea of settings to use.
Acrylic Test Machining Settings
Feed Rate: 120 mm/min
Plunge Rate: 60 mm/min
Depth of Cut: 0.8 mm
Spindle Speed: 1000 rpm
End Mill: 1.2mm ti-coated end mill with 1/8 shank
Overall Depth: 2mm
After the experiment on the acrylic, the results were good, but not great. I’m really asking too much of the 775 motor. And short of increasing the motor rpm, which isn’t possible but also the reason to use a real 500 watt or greater spindle, there isn’t really anything to do, but reduce the load. Asking the motor to hog out less material is the solution. A slower feed rate, and .2mm less depth per cut does the trick.
Final Acrylic Machine Settings, Dialed In
Feed Rate:100 mm/min
Plunge Rate: 60 mm/min
Depth of Cut: 0.6 mm
Spindle Speed: 1000 rpm
End Mill: 1.2mm ti-coated end mill with 1/8 shank


Comments are closed here.