
Because Night Vision Cameras are Cool!
Who doesn’t want a night vision camera?! I’ve been sitting on a lens without an IR filter for my knock off go pro, and some IR LED boards to build an IR Night Vision Camera for a long time. I finally got my butt in gear and put some components to work.
The Lens is just a replacement lens that has no infrared filter. Normal Lenses are treated to block IR light, whereas night vision works by being able to detect it. Just make sure the lens fits your model of camera. The lens I used, I bought a long time ago, but there are plenty on Amazon that fit the original Gopro Hero, HERO 2, HERO 3 (NOT THE 3+), SJCAM, SJ4000, SJ5000.
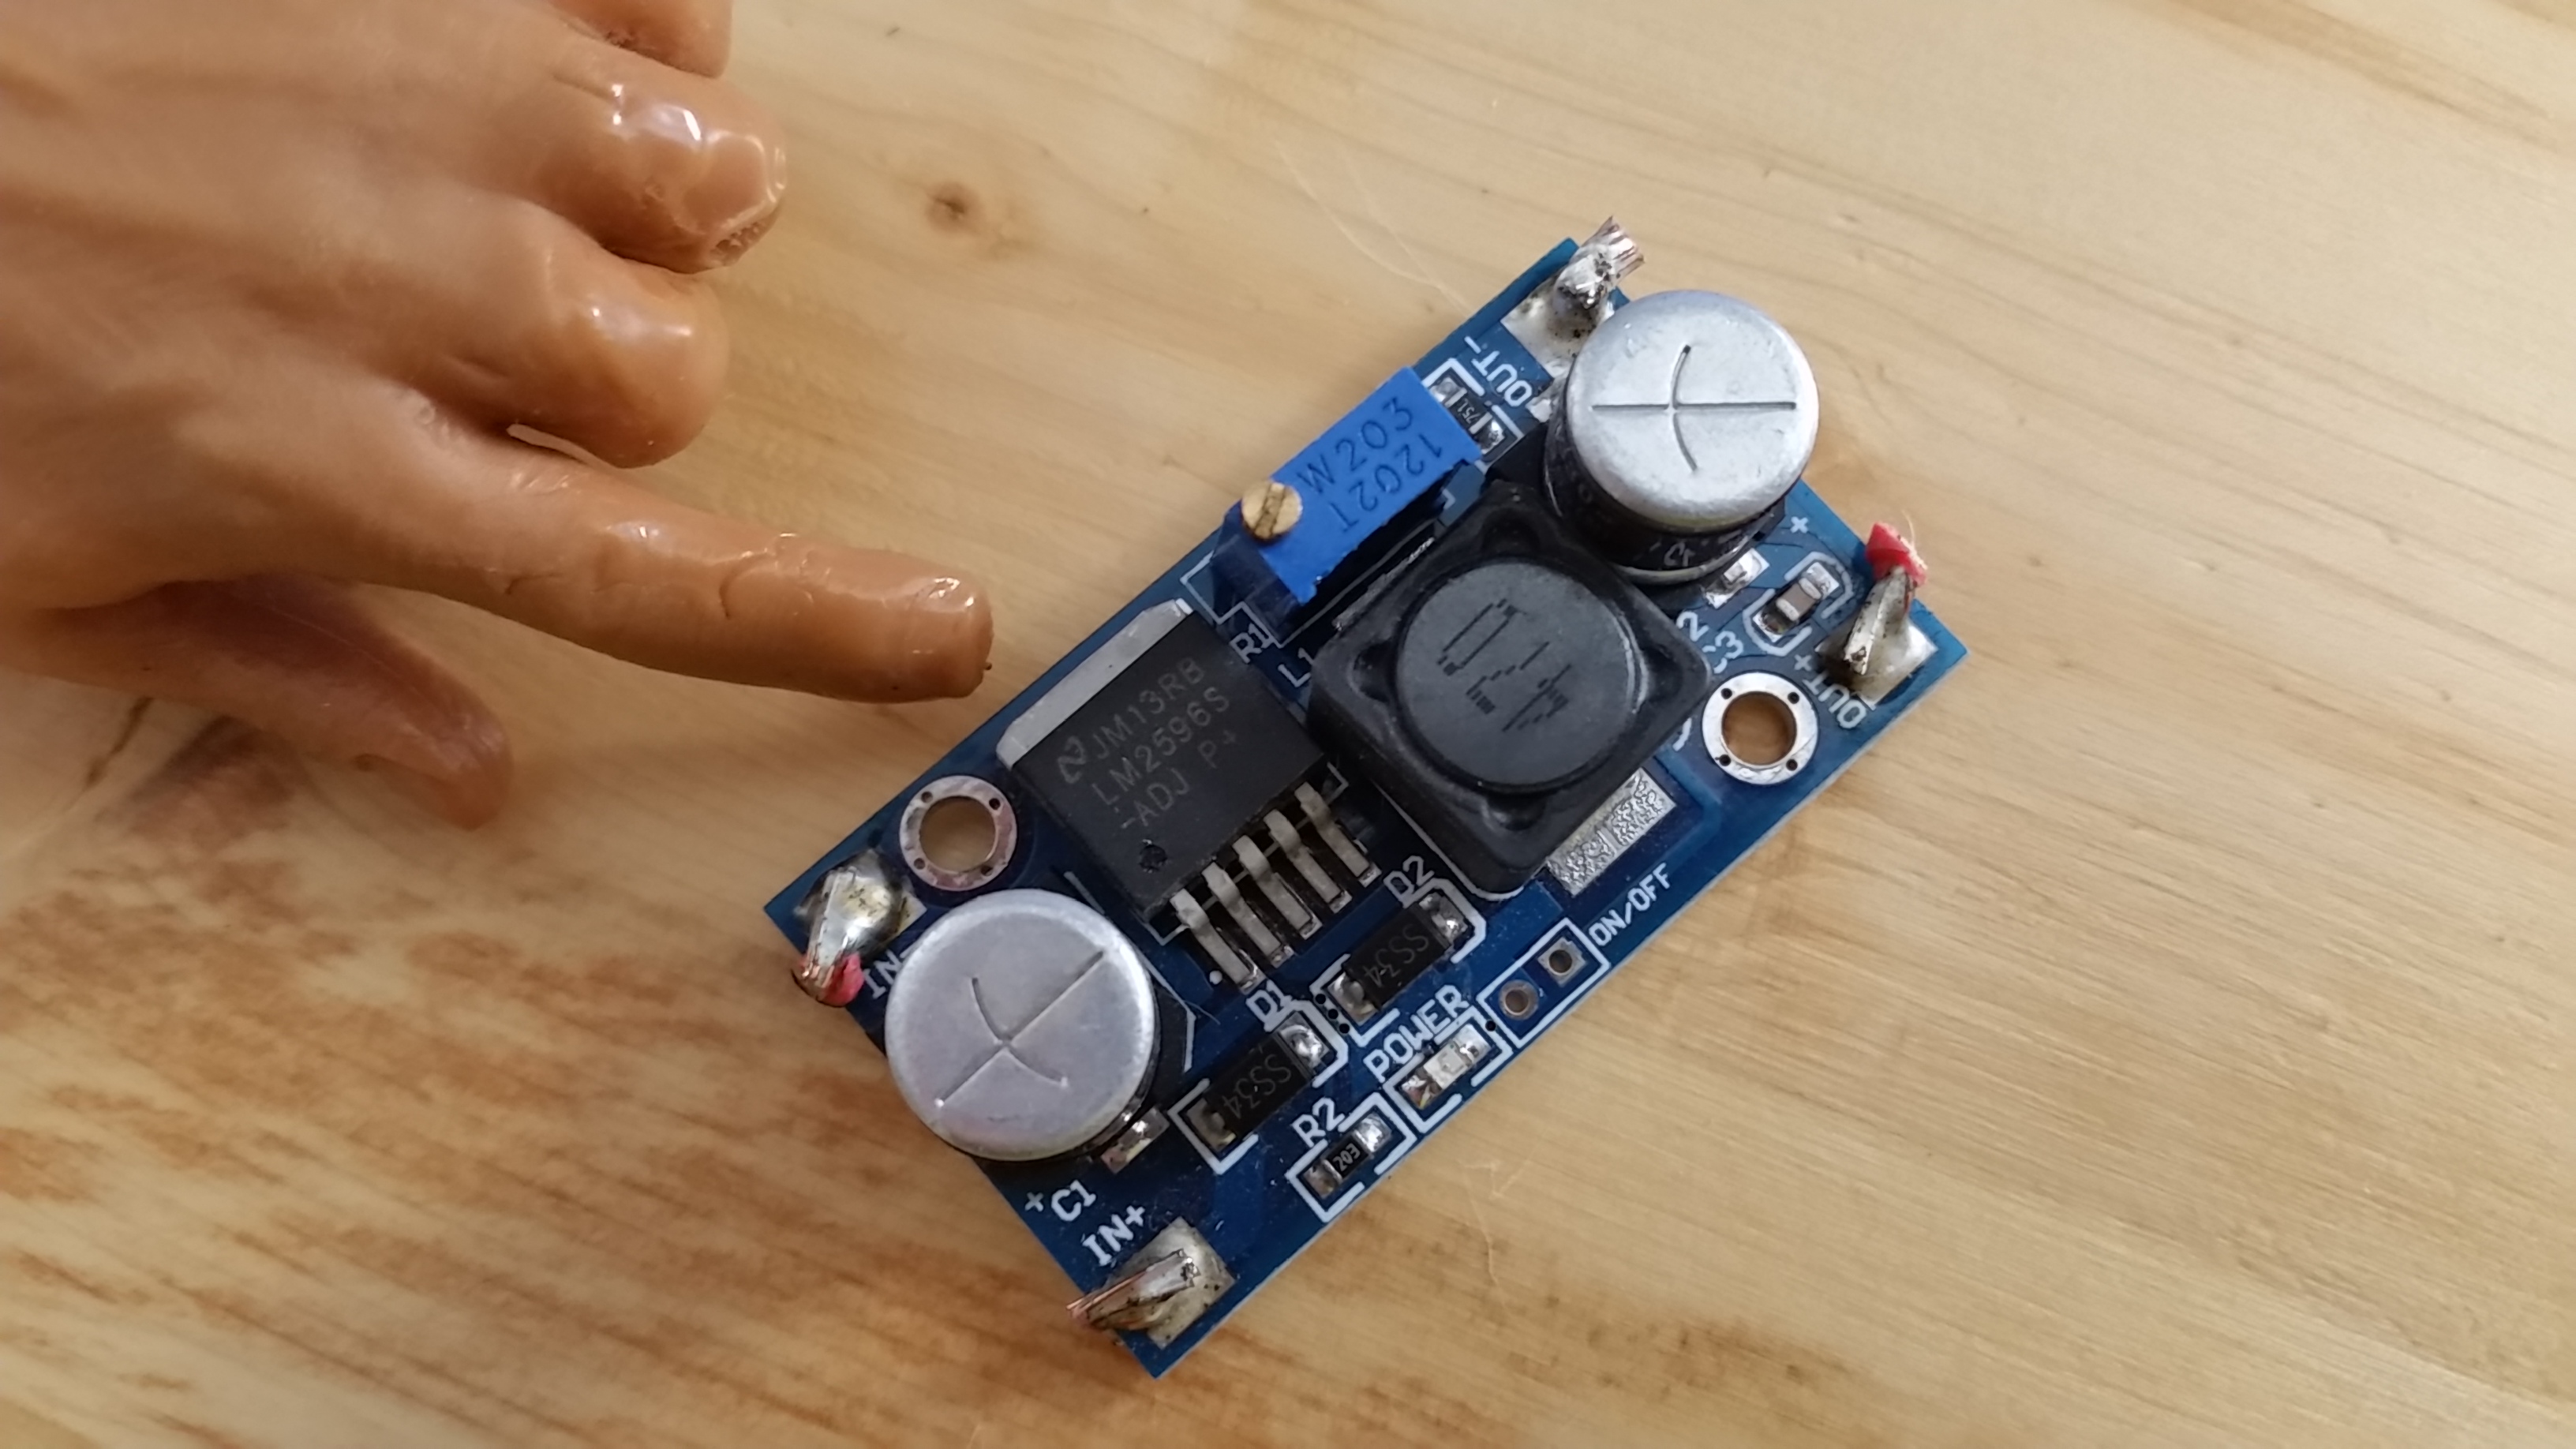
You’ll of course need a camera you are willing to hack, and a 12 volt power source. I’ve included a link to a versatile DC-DC regulator that is helpful if you aren’t going to carry a 12v battery around, and opt for a LIPO or something instead.
Parts:
CCD Camera Lens Without Infrared Filter – $8.99
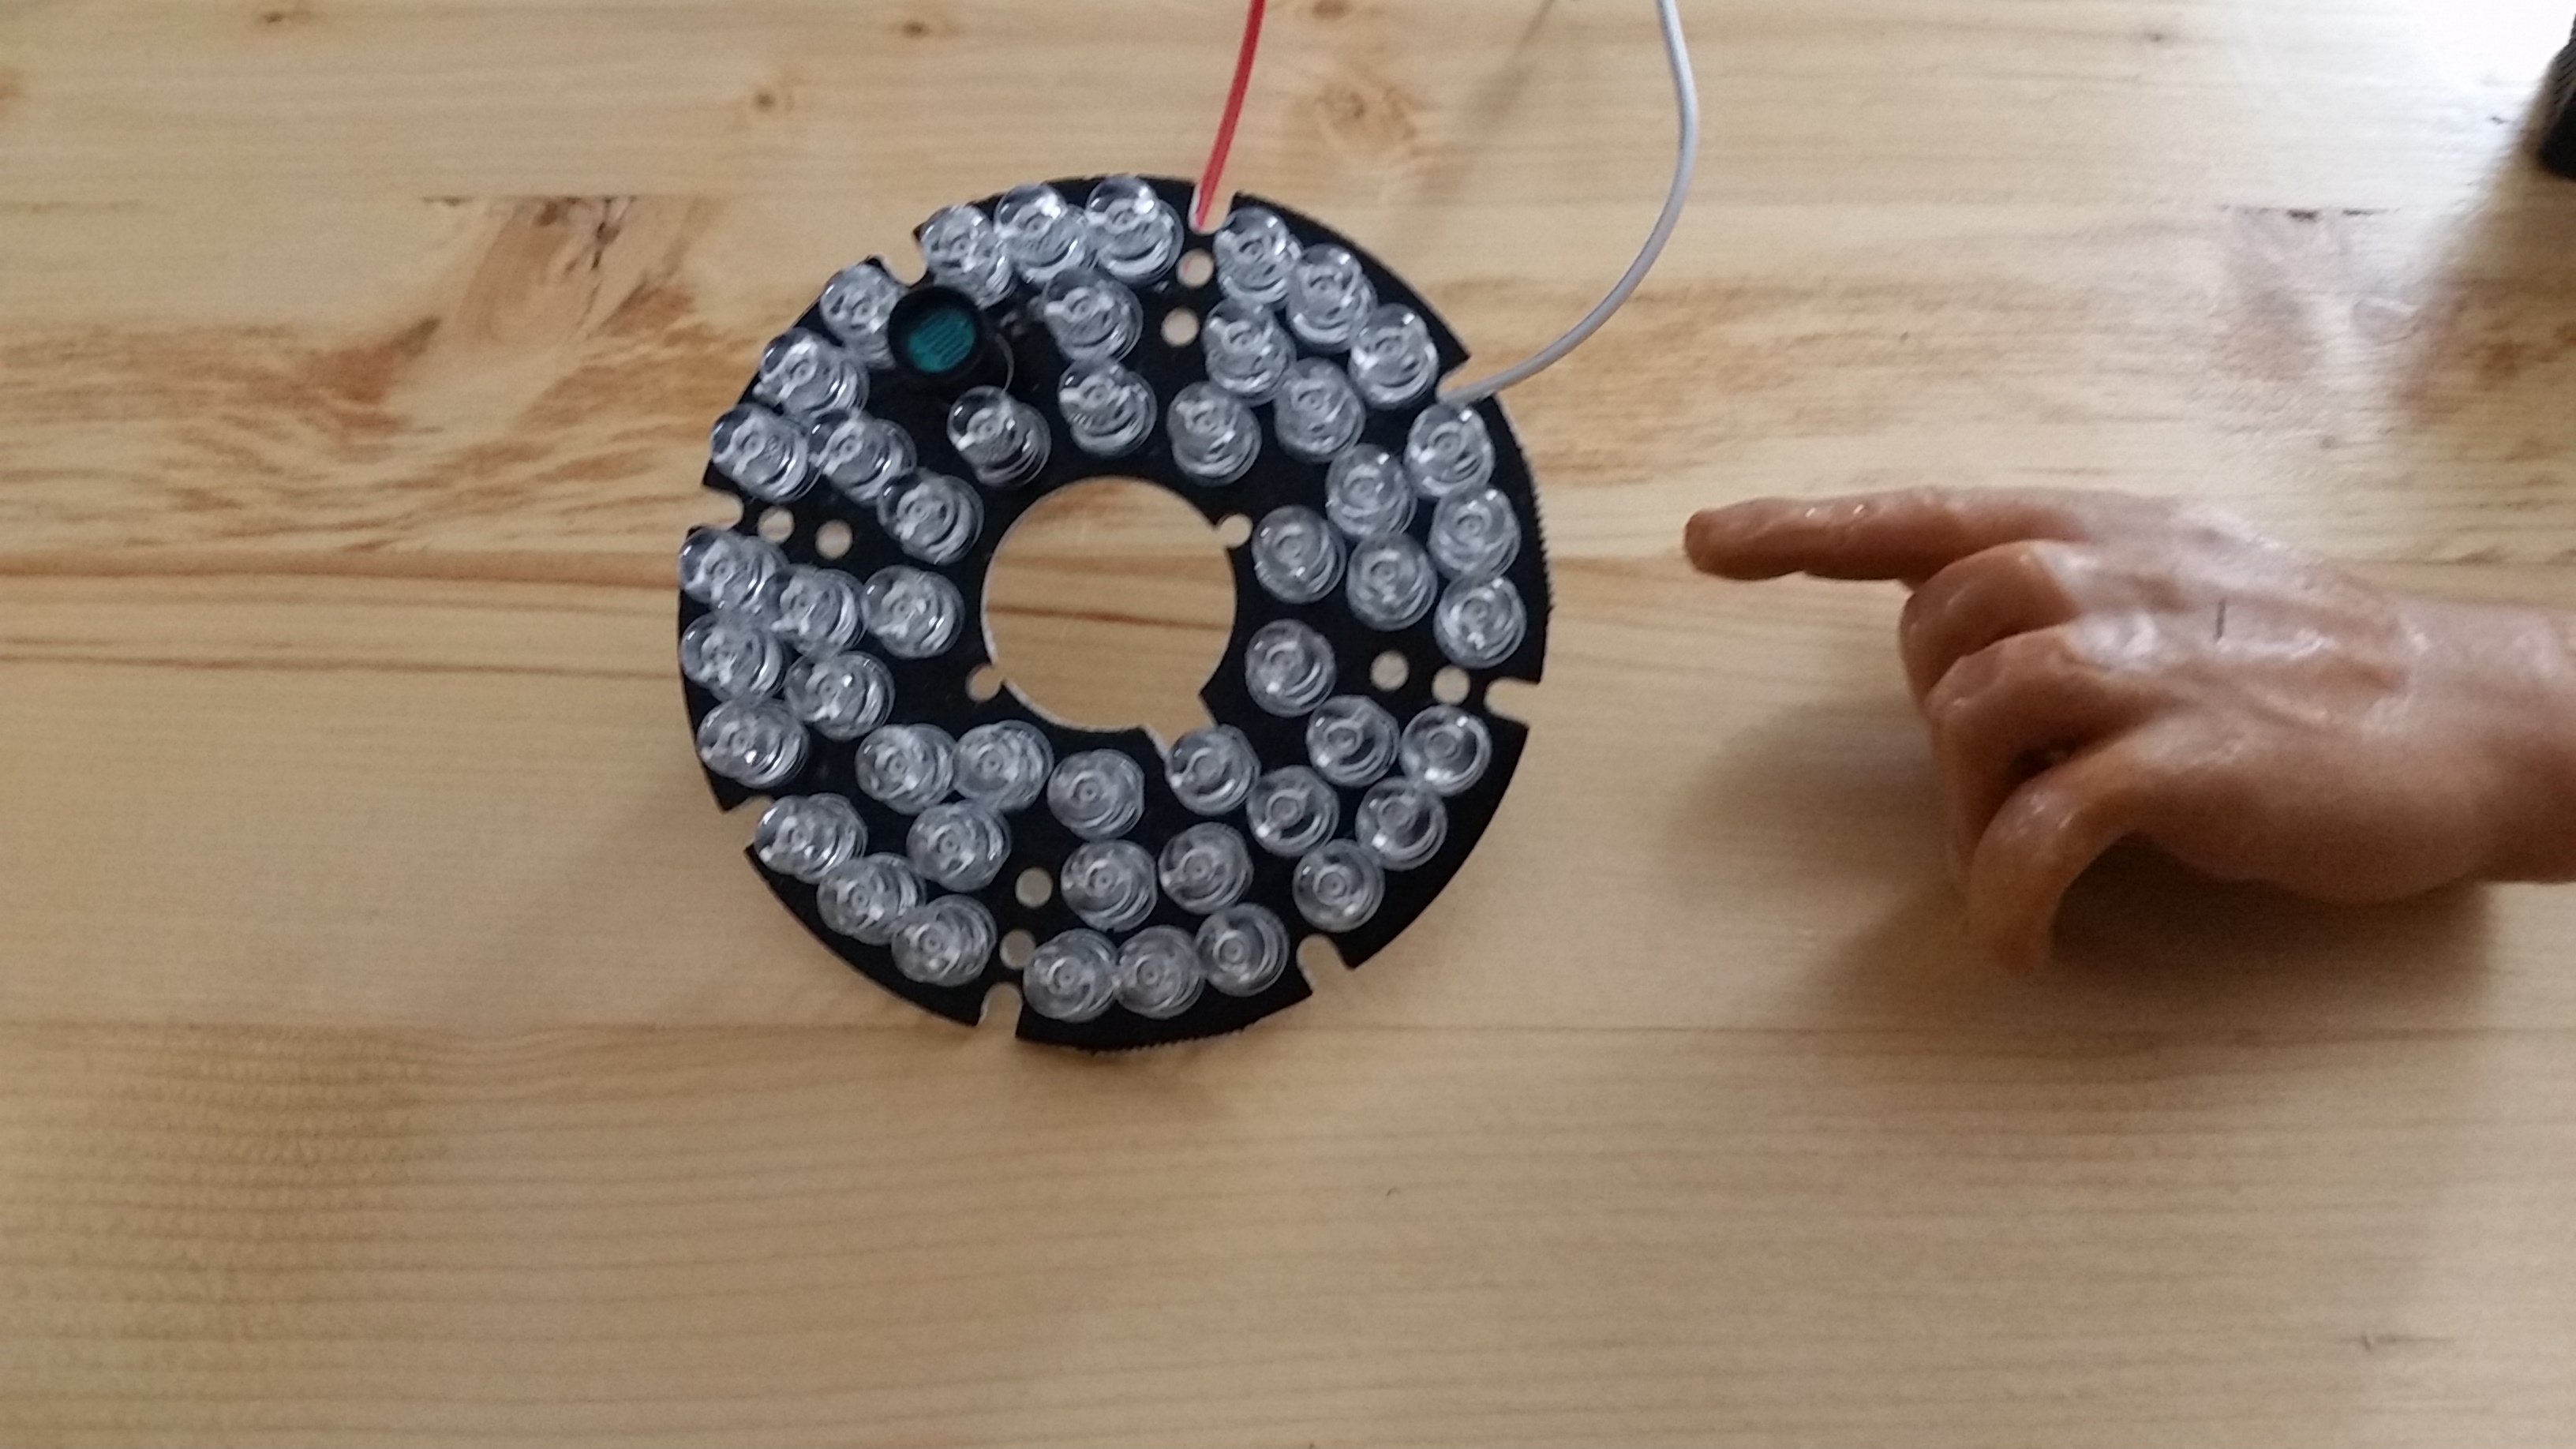
48LED 850nm Infrared Board for CCTV Camera – 2 pack for $8.99
LM2596 DC/DC Voltage Regulators – 6 pack for $10.99
Input Voltage: 3V to 40V, Output Voltage: 1.5V to 35V
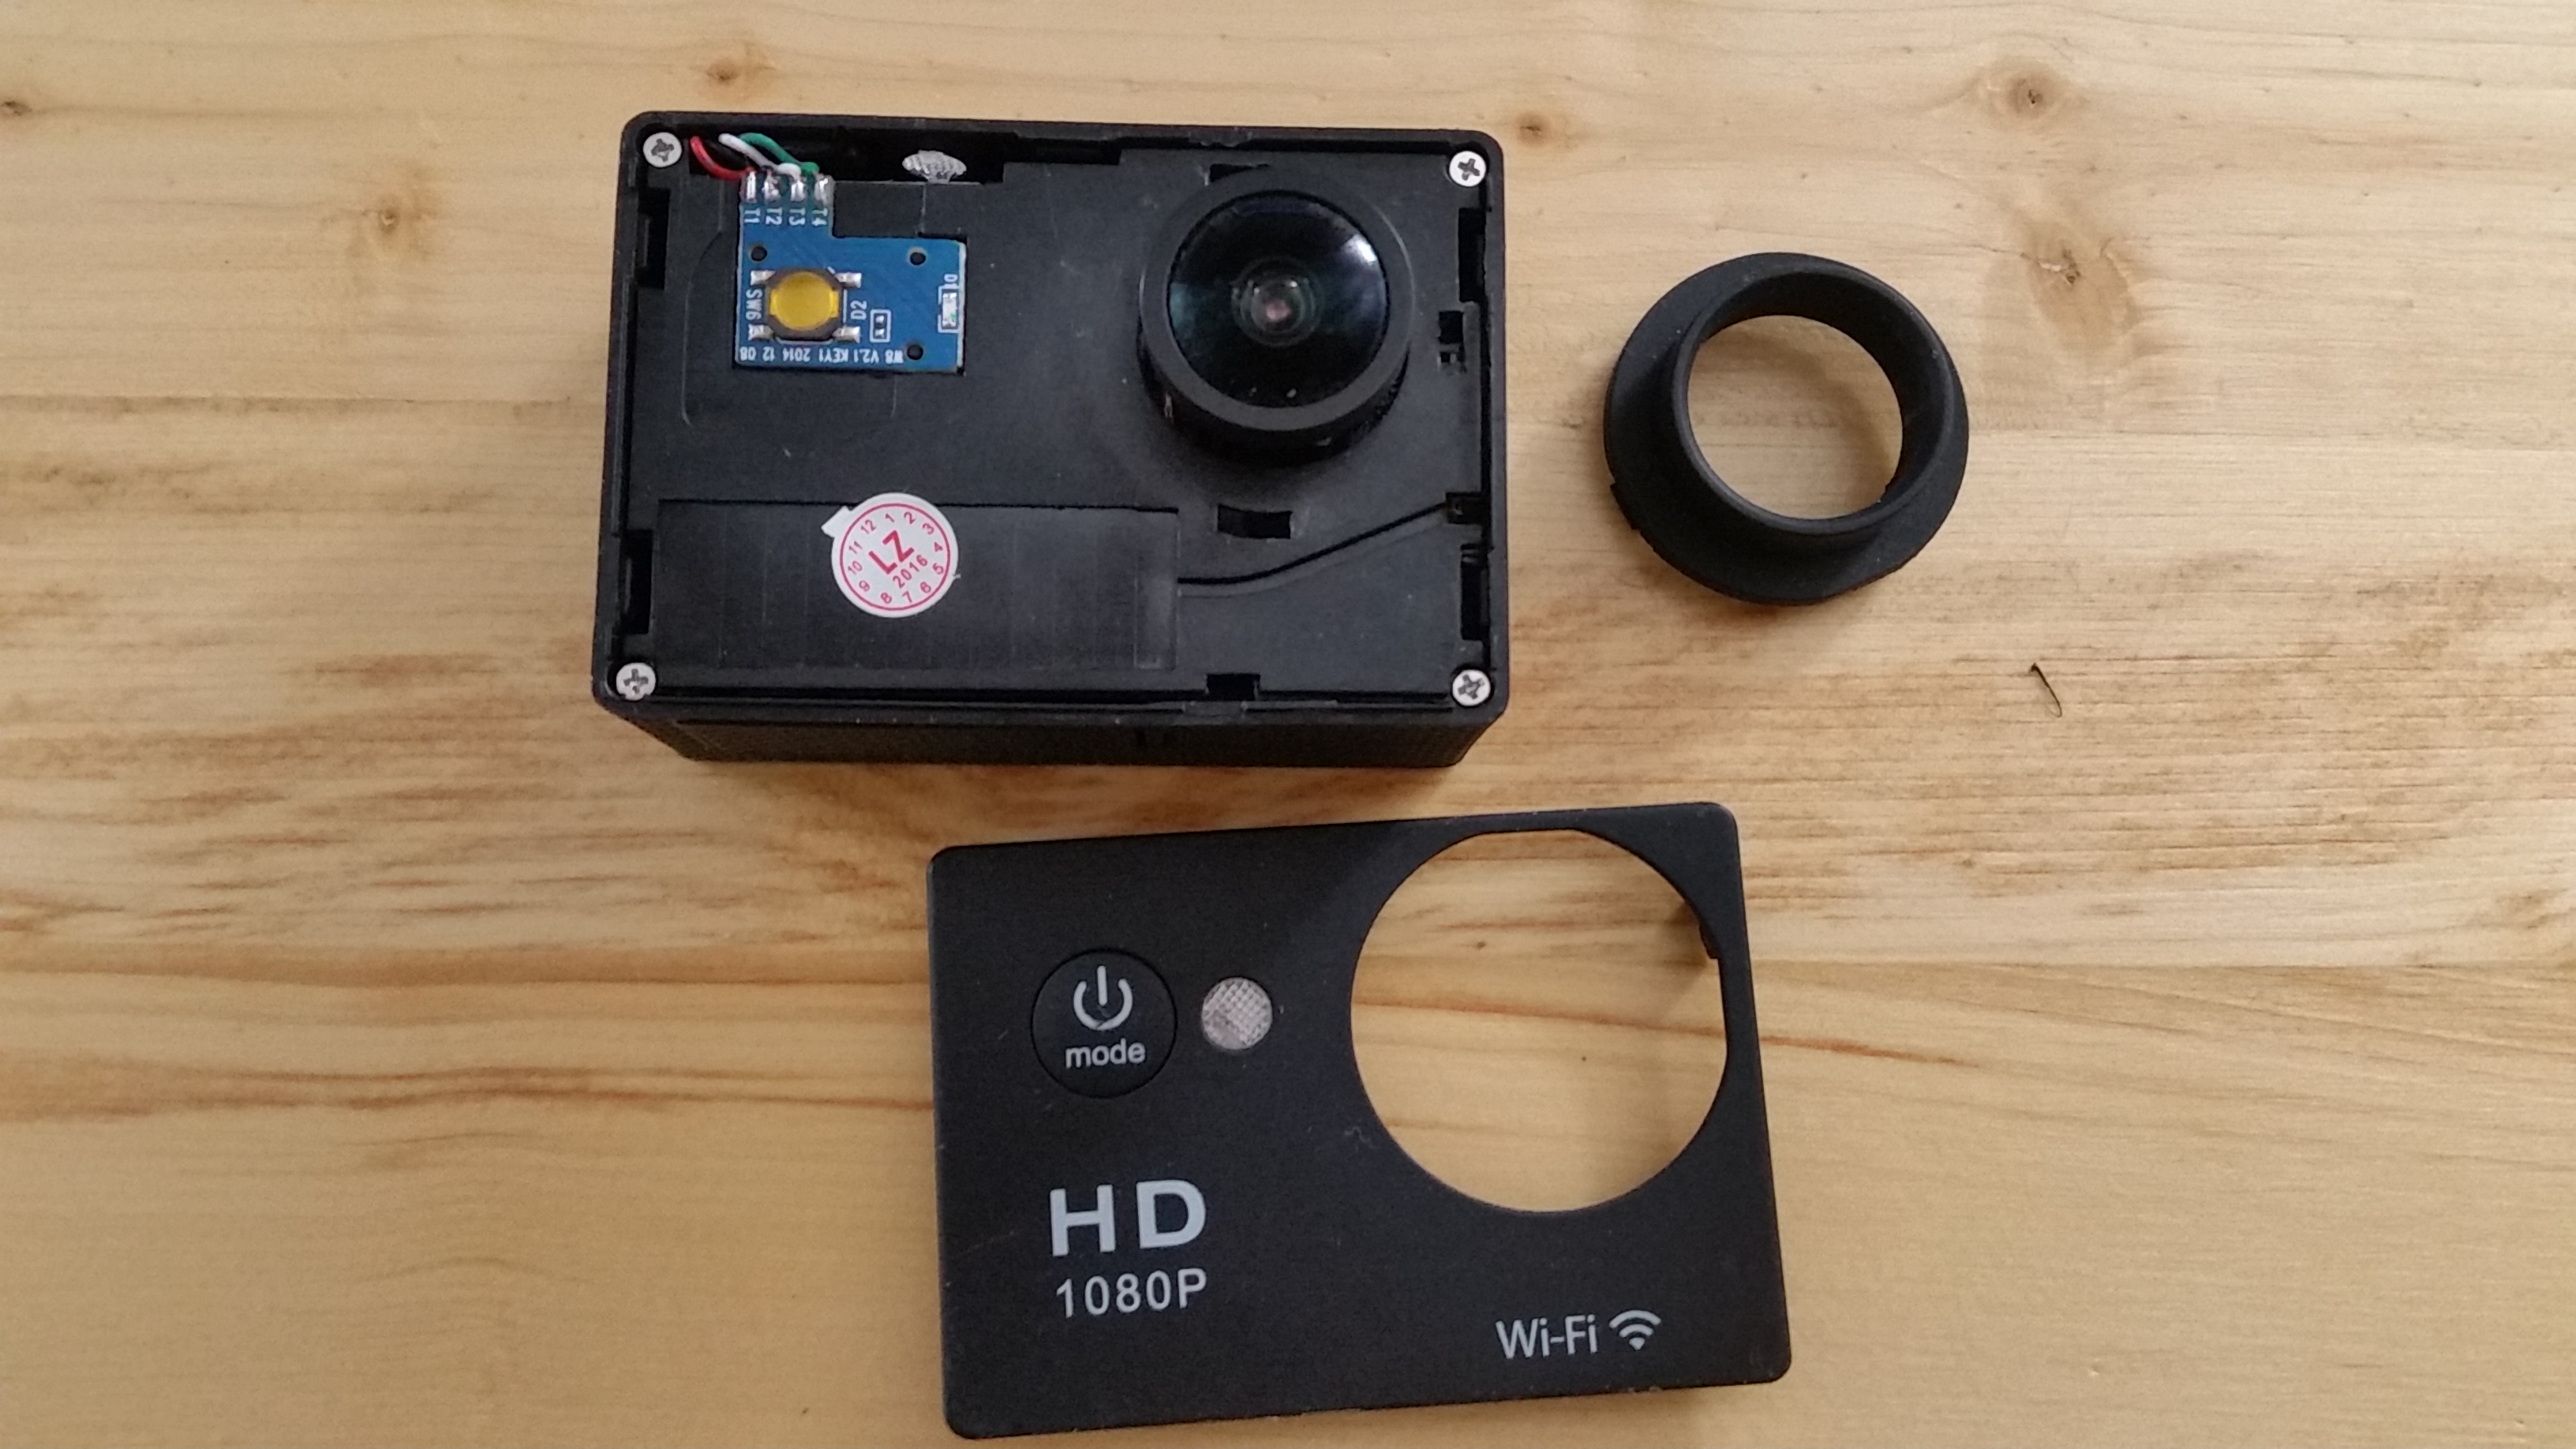


The SJCAM that I have, probably a clone at that, is easy to pop open. The face place just needs to be popped of with a small screw driver, or fingernail. There is a plastic/rubberized feeling thing protecting the lens, and needs to be popped off the same way. Its easy to start from the end that is nearest the frame edge.
The actual lens may have some glue holding it in the desired depth when it left the factory floor. Fortunately, its not much better than normal hot glue, and can be peeled off. I carefully used a hobby blade. I then threaded out the old lens and threaded in the new one. You may have to turn on the camera and adjust the lens focus, by threading in further, or by threading out. During the process, be careful not to get any dust inside of where the lens threads.
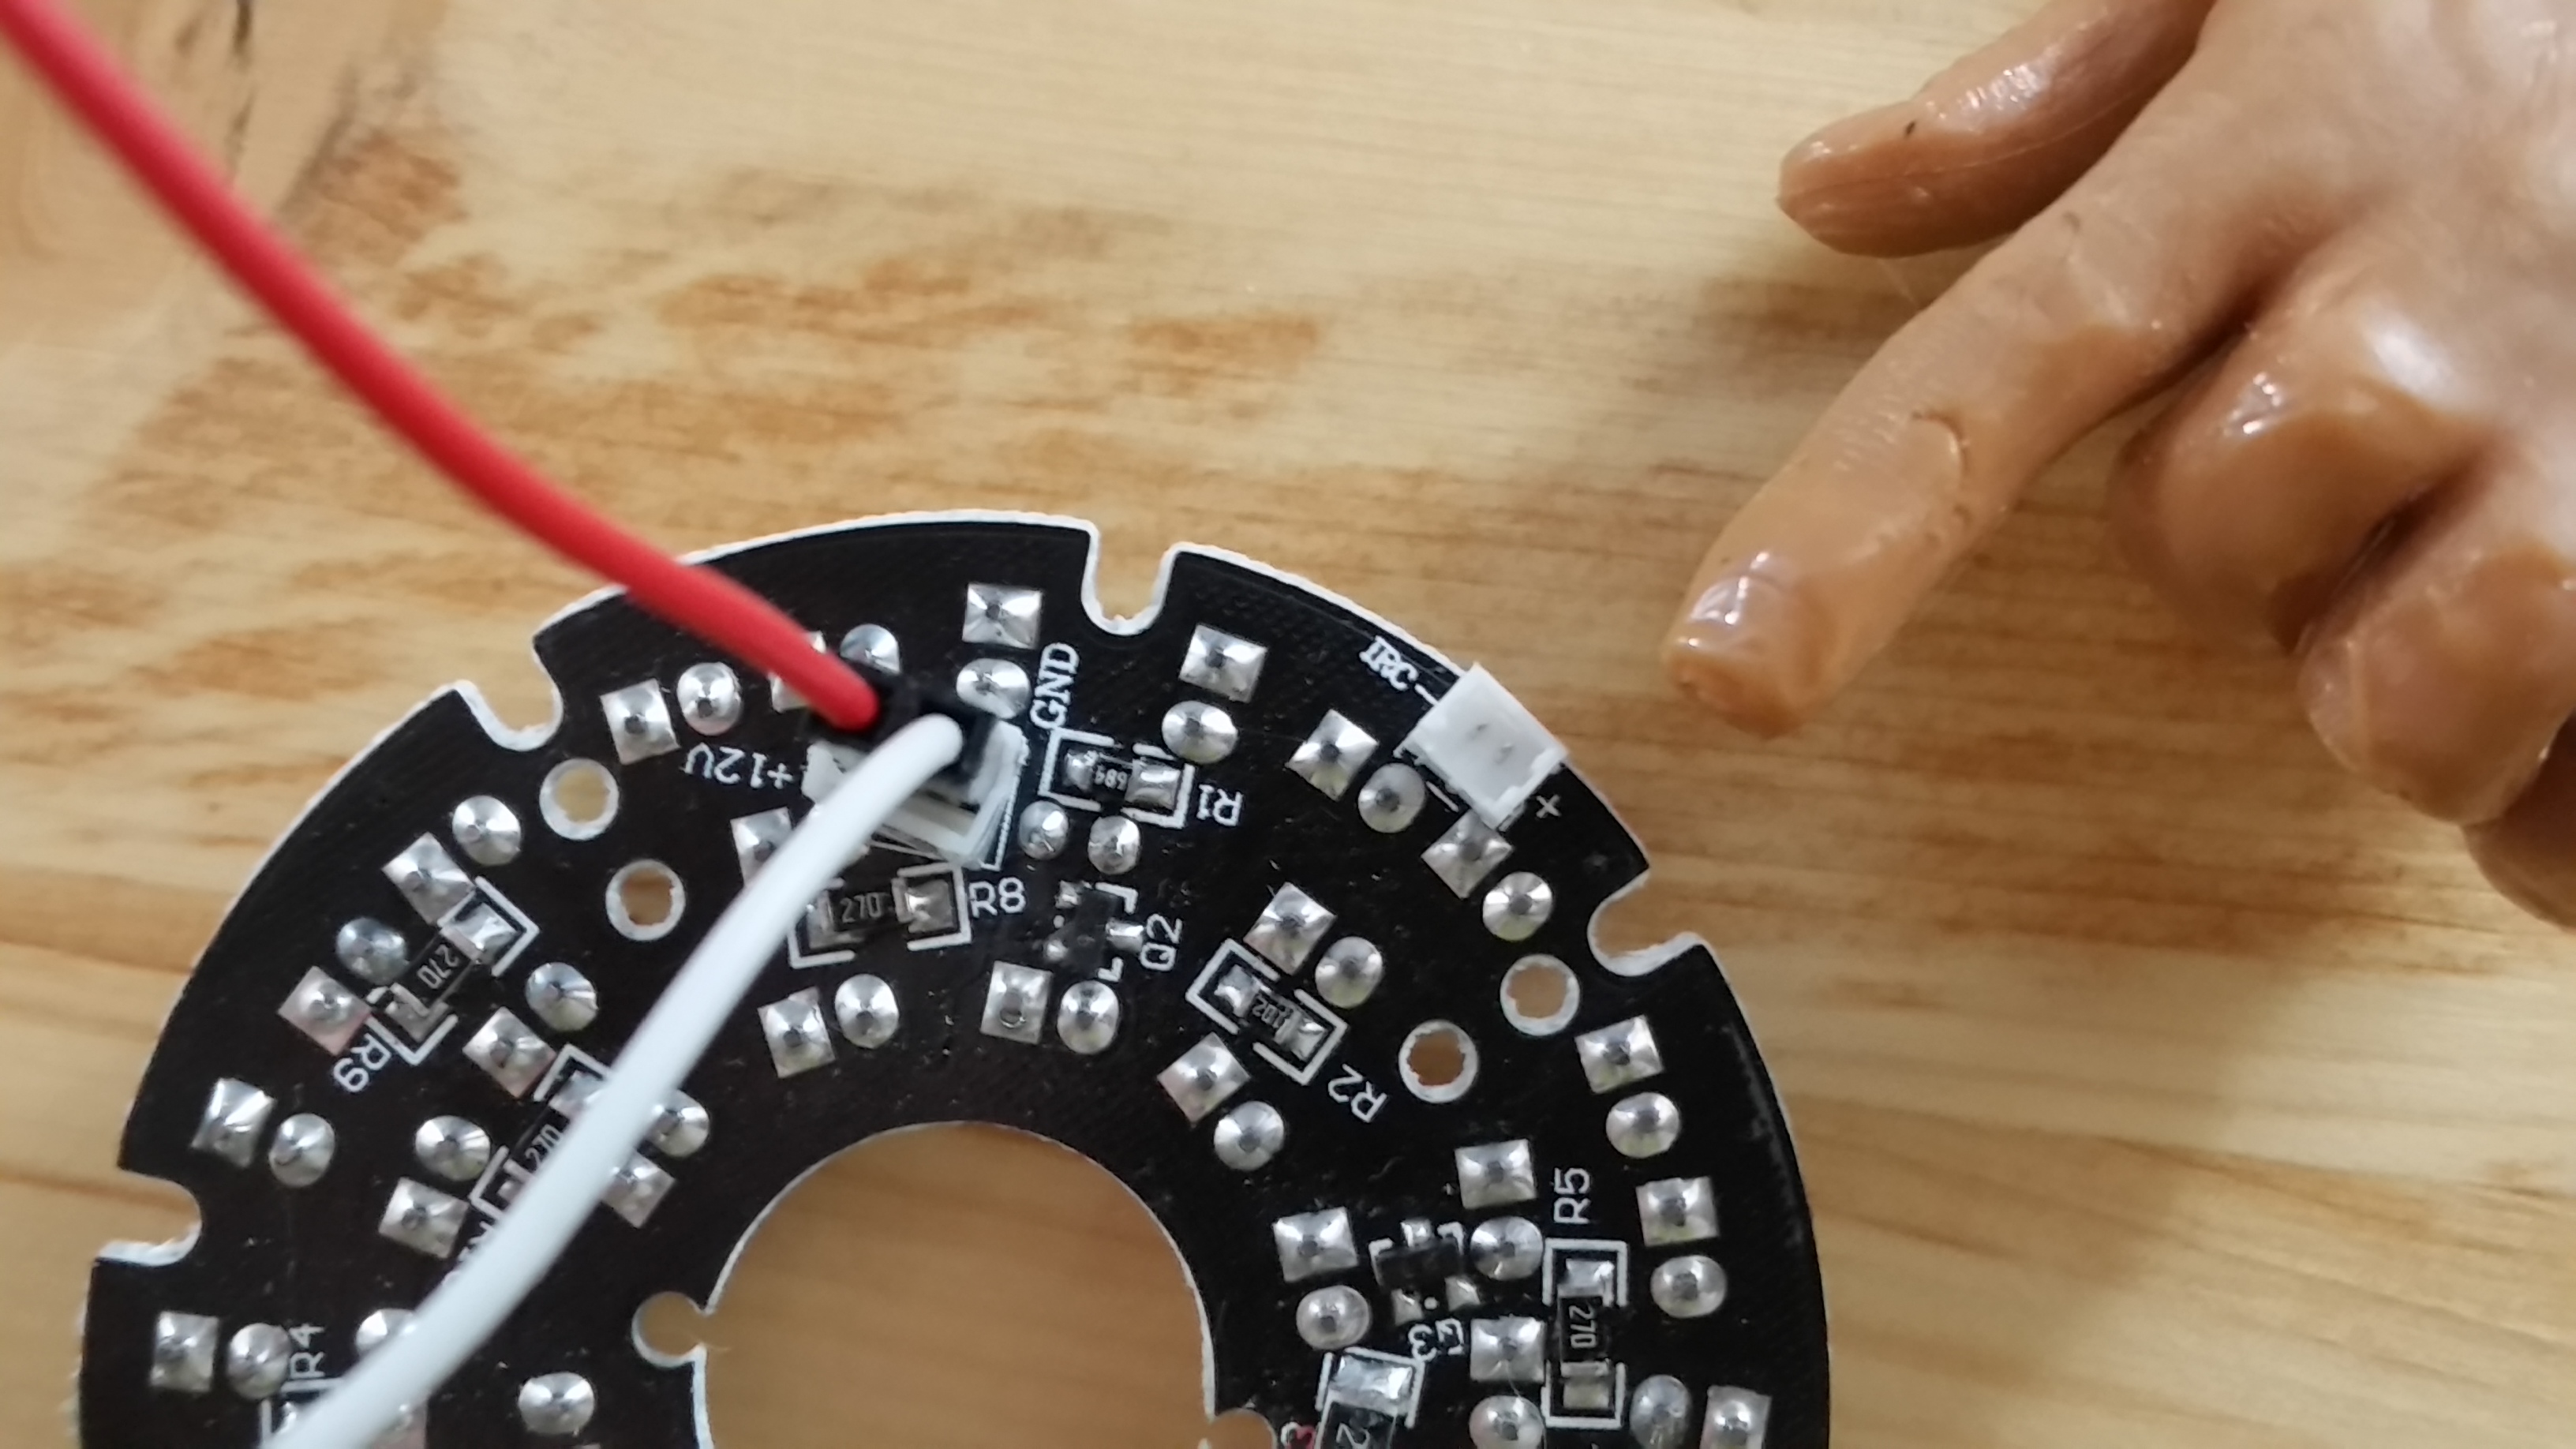
I powered the board with 12 volts via the obvious 12v positive and negative terminals labeled on the board next to the 12v connector. I also gave power to the positive(+) terminal on the IRC pin(I used a 150mah 1s lipo, just to test), and the IR LEDS turned on in the absence of light. They output a minor visible reddish light, so if you test with the lights on, you can simply cover your sensor on the front of the board, and still see they are working because of the minor glow.
If you’ve done everything correctly, you should be able to turn on your camera, power the IR led board, and use you camera as an IR night vision camera.

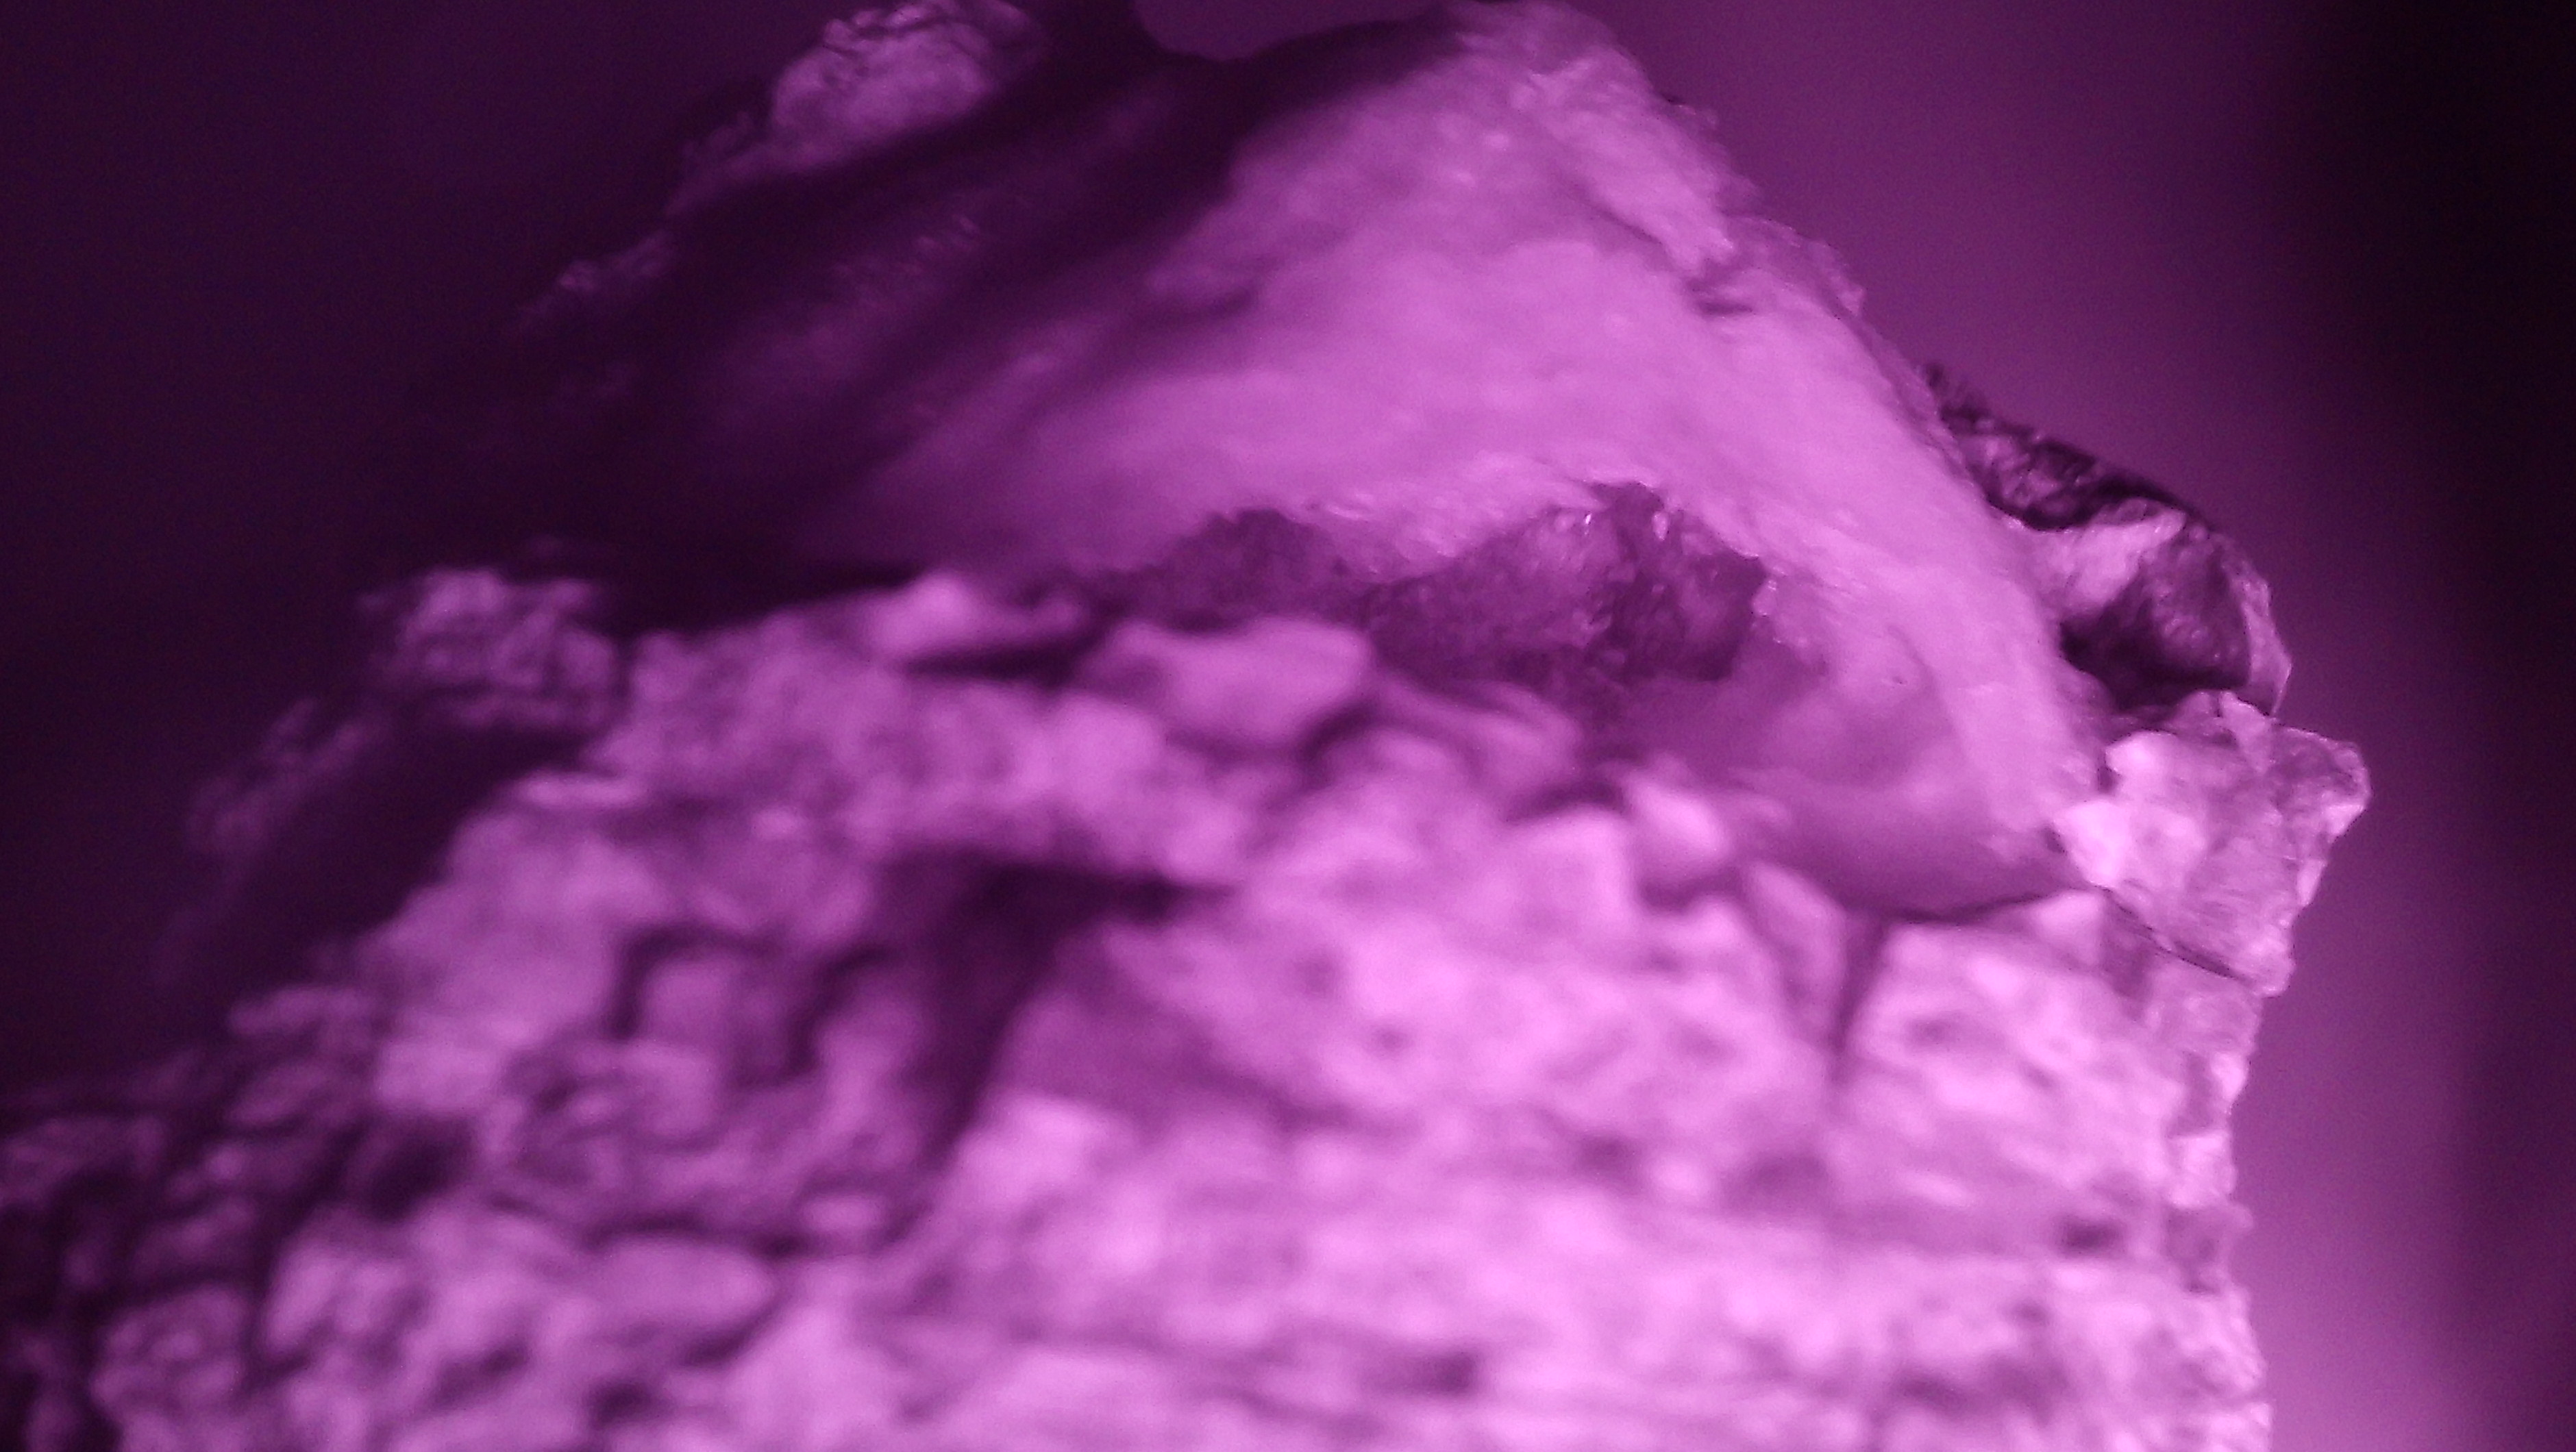
The results were good. I tested from a 12v power supply on my work desk. But will solder an xt60 or xt30 connector to the input of the DC-DC regulator, to be able to power it off a range of portable battery options. Below are photos of a rock, from the same angle, with and without normal lighting. I probably could have focused the camera a bit better, but I’m sure the difference is obvious, and it clearly works fine.
Alternatively, with prices so ridiculously low, ready made alternatives like the SQ11 might be an option depending on your intended usage. Although the IR beam strength will be less than the DIY version, and so your night vision range will be less than the DIY version. Also, we all know Amzon is about shipping convenience and not low cost. So if you want a stupid cheap, IR night vision camera, you can find them on ebay, or Gearbest for a few dollars.
Comments are closed here.